
Not long ago I was scouring West Elm’s website looking for inspiration when I found their Jungalow Hanging planter. Although I fell for it’s exposed-ply, scandi fabulousness, there is no way I’d ever pay $75 for a planter. Luckily, I’m always building DIY furniture and have plenty of leftover plywood in my garage.
I decided to build my own modern hanging planter using the exact measurements of the West Elm version, and for a fraction of the price.
How to Build A Modern Hanging Planter
Click here to get a free printable version of this building plan

This post may contain affiliate links. Learn more here.
Start by cutting the outer frame from piece of plywood. This is a great project to utilize scrap, but if you don’t have any laying around, you can purchase a 2′ x 4′ project panel from the hardware store for around $9-$12.
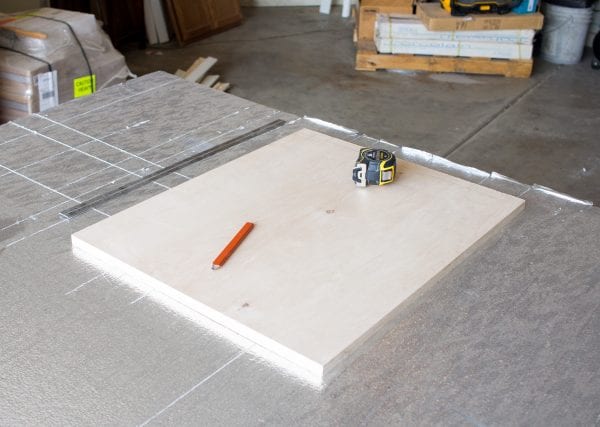
The diamond shape is easy to draw with a pencil and a ruler. Draw a 22″ line straight down your plywood. Find the center, and draw a 15″ perpendicular line. Connect the ends of the lines and you have the outer dimensions of the frame. Measure 1″ inside the perimeter and draw another set of parallel lines.
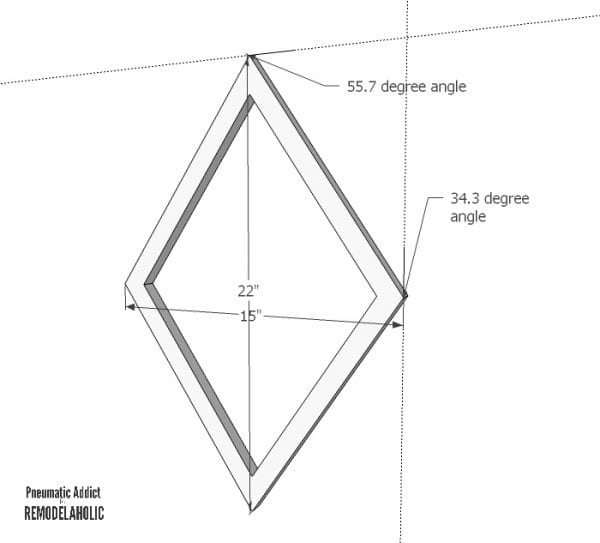
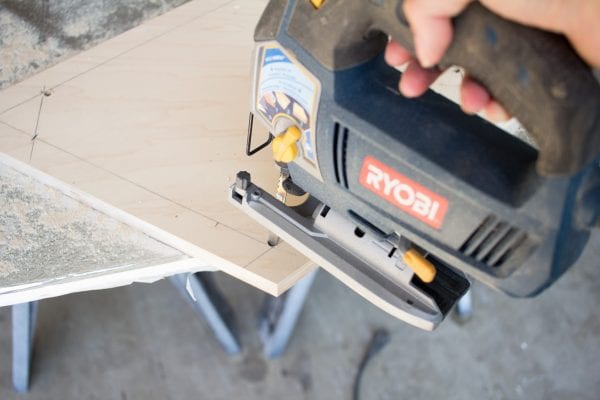
You can use any type of saw you’d like to cut the outer dimensions of the frame (I used a circular saw), but you’ll need a jigsaw to cut out the middle section. To be able to insert the blade, use a 3/8″ drill bit to drill pilot holes in each corner of the inner diamond.

Then, you can insert the jigsaw blade and cut out the center panel. Use the discarded piece for the next step.
Use a scrap piece of plywood to create the horizontal part or “flower plate”. Cut the scrap into a 7″ x 7″ square.

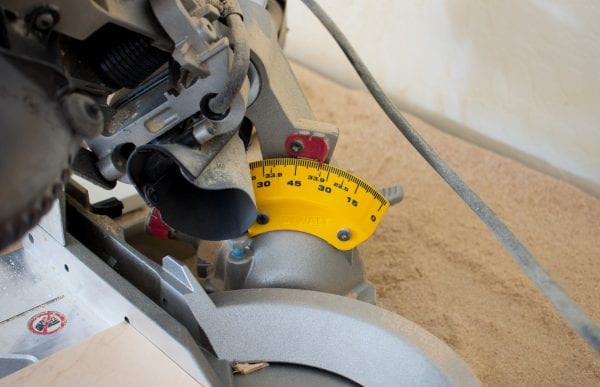
Next, you’ll need to make some sorta fancy cuts on the corners. They are really easy to make on a compound miter saw, but you can make them with a circular saw too. You basically want to knock off the points on two opposite corners so the plate will rest flush on the frame. Remember when working with smaller material to safely clamp the piece to your work surface and never let your fingers get close to the blade.
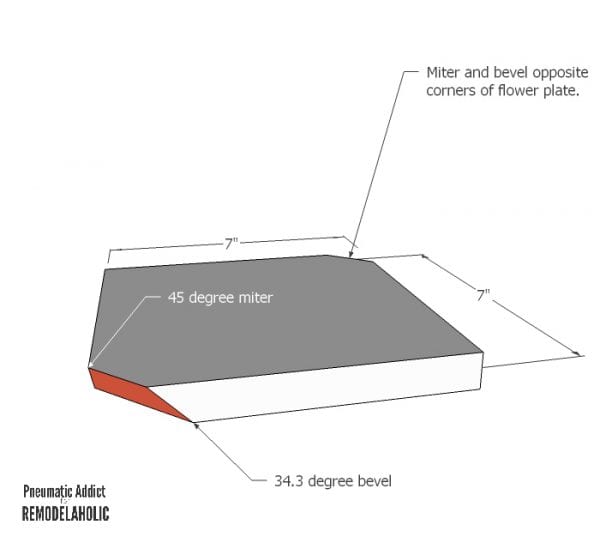
Set the miter (or fence) of the saw to 45 degrees and the bevel (or tilt) of the blade to 34.3 degrees. I know that’s a crazy number, but it’s the exact angle the plate will meet the frame. If it’s not perfect, it’s not the end of the world. As long as it’s close your planter will look just fine.
Use a ruler to find the center of the plate. Drill a 3-1/2″ hole using a hole saw.
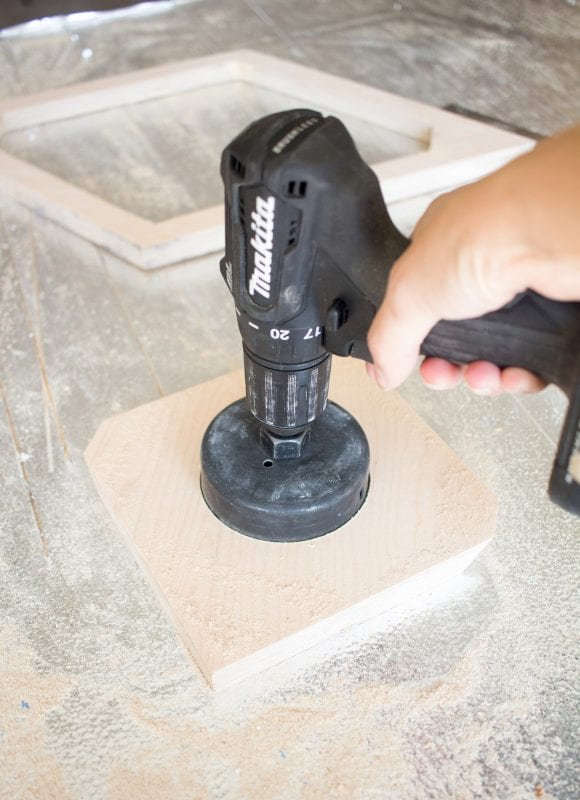
If you don’t have a hole saw, you can use a jig saw to cut out a round opening.

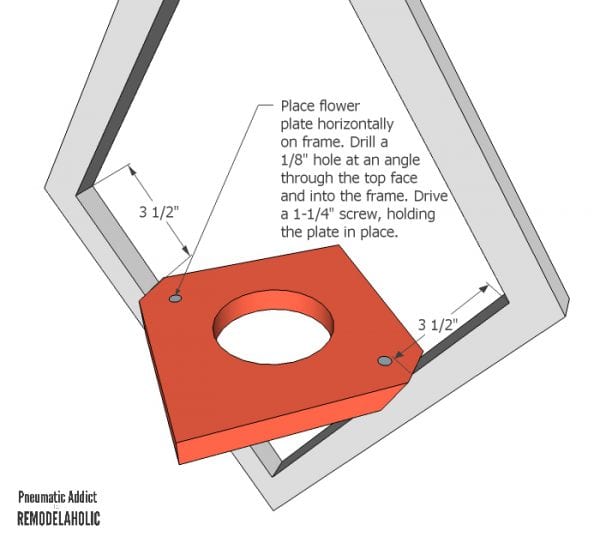
Place the flower plate horizontally inside the frame. It should rest in place against the sides. Use a 1/8″ drill bit and drill a pilot hole at an angle through the top of the plate and into the frame.
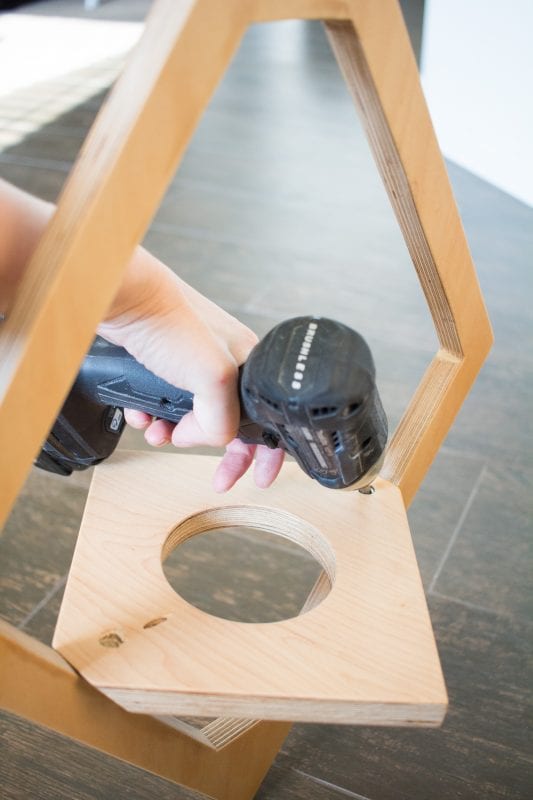
Countersink the pilot hole and drive a 1-1/4″ screw, securing the pieces together. Repeat on the other side.
This would be a good point to sand the entire planter and apply your finish. If you use a water-based sealant like a PolyAcrylic, your plywood won’t have the tendency to yellow.
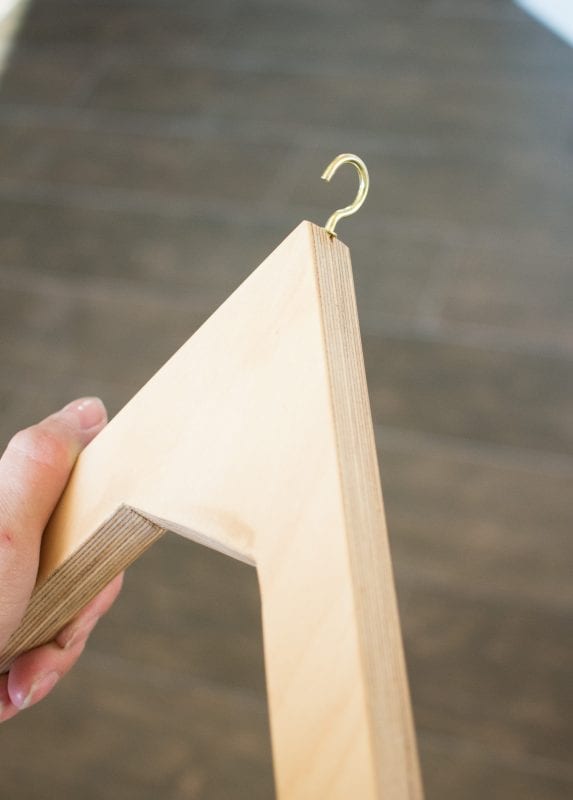
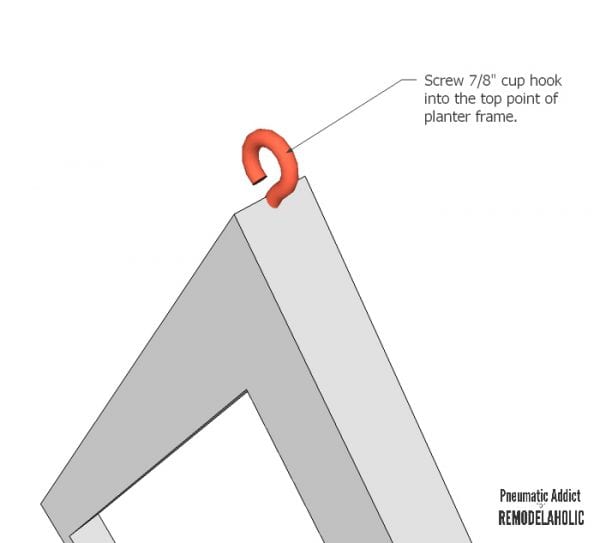
Once the finish is dry, screw a 7/8″ cup hook into the top point of the frame.
Now you can hang the planter from a length of chain or rope and drop in a potted plant. A 3-1/2″ hole will fit one of those little pots or fake plants from Ikea perfectly.

I totally want to make like 5 more as soon as I saw my new hanging planter in place.

Even if you have to buy all your materials new, the DIY version of this bad boy is still WAY cheaper than buying the original.
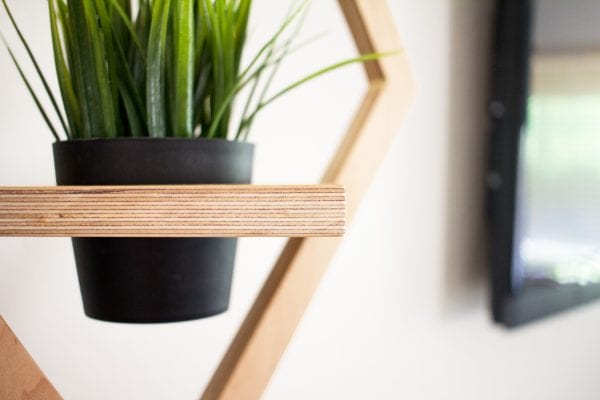
I didn’t realize till I hung the planter in my living room that I used the exact same leftover plywood to make my stacked plywood lamp you can see in the background, so they match perfectly. If anyone asks, I did that on purpose.

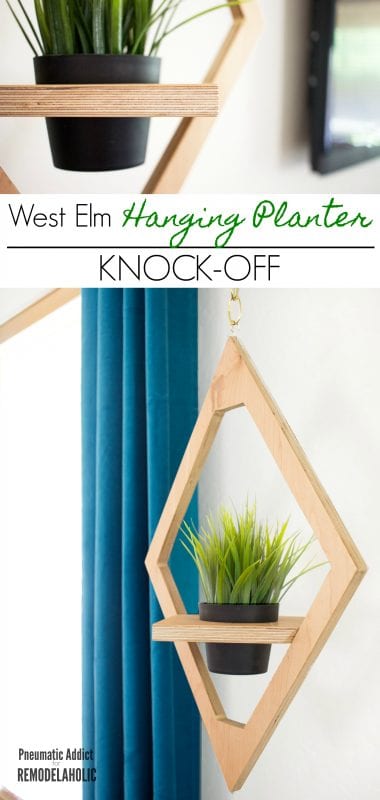
Like this idea? Pin the image below to save the idea for later!
More DIY planters:
world’s easiest DIY hanging planter
one board hexagon planter![’Ìp‹vf‘îÓ4tµ/Nb%9ïÉ]aá©nÐ#Vk“±äWûôE¶:¹ srcset=](https://www.remodelaholic.com/wp-content/uploads/2017/05/Hex-Planter-RM-17052513-600x398.jpg) Èöq¬žž,Ö:ªˆµ×ZhÜŽý¥—ú÷k7¥^³E®—tÿÔXân>{€6ëY4öð6¼¤žÒQñ=Ë÷õiJZ{nùŽÎö@J‡€í§@Ò°ñž@ýzjæ6%¦£Ù3Ö:î©nm+÷ü9©q.ü¥¤R’@éôYC® ,RŽÇo¯ªX©©?”9ä)KFß™H ÛrÉ ‘ Y}K 1½ÕRÕ¹#+ȧÞÂߥ¥'¨õÆÃ>’è@Zzú¼#¹% M!ÇݳÿsYeÍ2ö’)]ý,TpÌÔ±qEªZ'¨%‘b’9à äXmcµ=ùÕ¡EO¥”•y…i=.pœûeKŠCBá"™J)Áçµù¡ÓÉ5SÒq5–©3NñÔnîhÝN?1ÒÎ V[”ø‚ËiâK=u®£)JíI: ‘×ì65!‘tIÅ5cä뵶®×qª¶Õ®ÊªI)WË*q‘î>!®ÄZjç&JÎÅrƒååî äjèàùc>Z„=N˜þݨ=Äêæs"´r#uæ¬9G0AÔ#+%ÎI'¼“ß“¨Èˆeï:ˆ'åžZ„5û ‰î^ƒæZaÚOTµMæNÉ0F>ÀÕ)>9—J2ùƒ±Hû€Áoˆóks õ
Èöq¬žž,Ö:ªˆµ×ZhÜŽý¥—ú÷k7¥^³E®—tÿÔXân>{€6ëY4öð6¼¤žÒQñ=Ë÷õiJZ{nùŽÎö@J‡€í§@Ò°ñž@ýzjæ6%¦£Ù3Ö:î©nm+÷ü9©q.ü¥¤R’@éôYC® ,RŽÇo¯ªX©©?”9ä)KFß™H ÛrÉ ‘ Y}K 1½ÕRÕ¹#+ȧÞÂߥ¥'¨õÆÃ>’è@Zzú¼#¹% M!ÇݳÿsYeÍ2ö’)]ý,TpÌÔ±qEªZ'¨%‘b’9à äXmcµ=ùÕ¡EO¥”•y…i=.pœûeKŠCBá"™J)Áçµù¡ÓÉ5SÒq5–©3NñÔnîhÝN?1ÒÎ V[”ø‚ËiâK=u®£)JíI: ‘×ì65!‘tIÅ5cä뵶®×qª¶Õ®ÊªI)WË*q‘î>!®ÄZjç&JÎÅrƒååî äjèàùc>Z„=N˜þݨ=Äêæs"´r#uæ¬9G0AÔ#+%ÎI'¼“ß“¨Èˆeï:ˆ'åžZ„5û ‰î^ƒæZaÚOTµMæNÉ0F>ÀÕ)>9—J2ùƒ±Hû€Áoˆóks õ
square glass vase centerpiece planter
mini tabletop modern planter stands 
plus 25 more DIY planters
The post DIY West Elm Modern Hanging Planter Knock-Off appeared first on Remodelaholic.
https://www.remodelaholic.com/diy-modern-hanging-planter/


No comments:
Post a Comment