Hey guys, it’s Shara here again from the blog Woodshop Diaries. Have you noticed the modern trend starting to take over? I have and I am LOVING it. I love the clean lines and the black and white and the more natural wood tones.
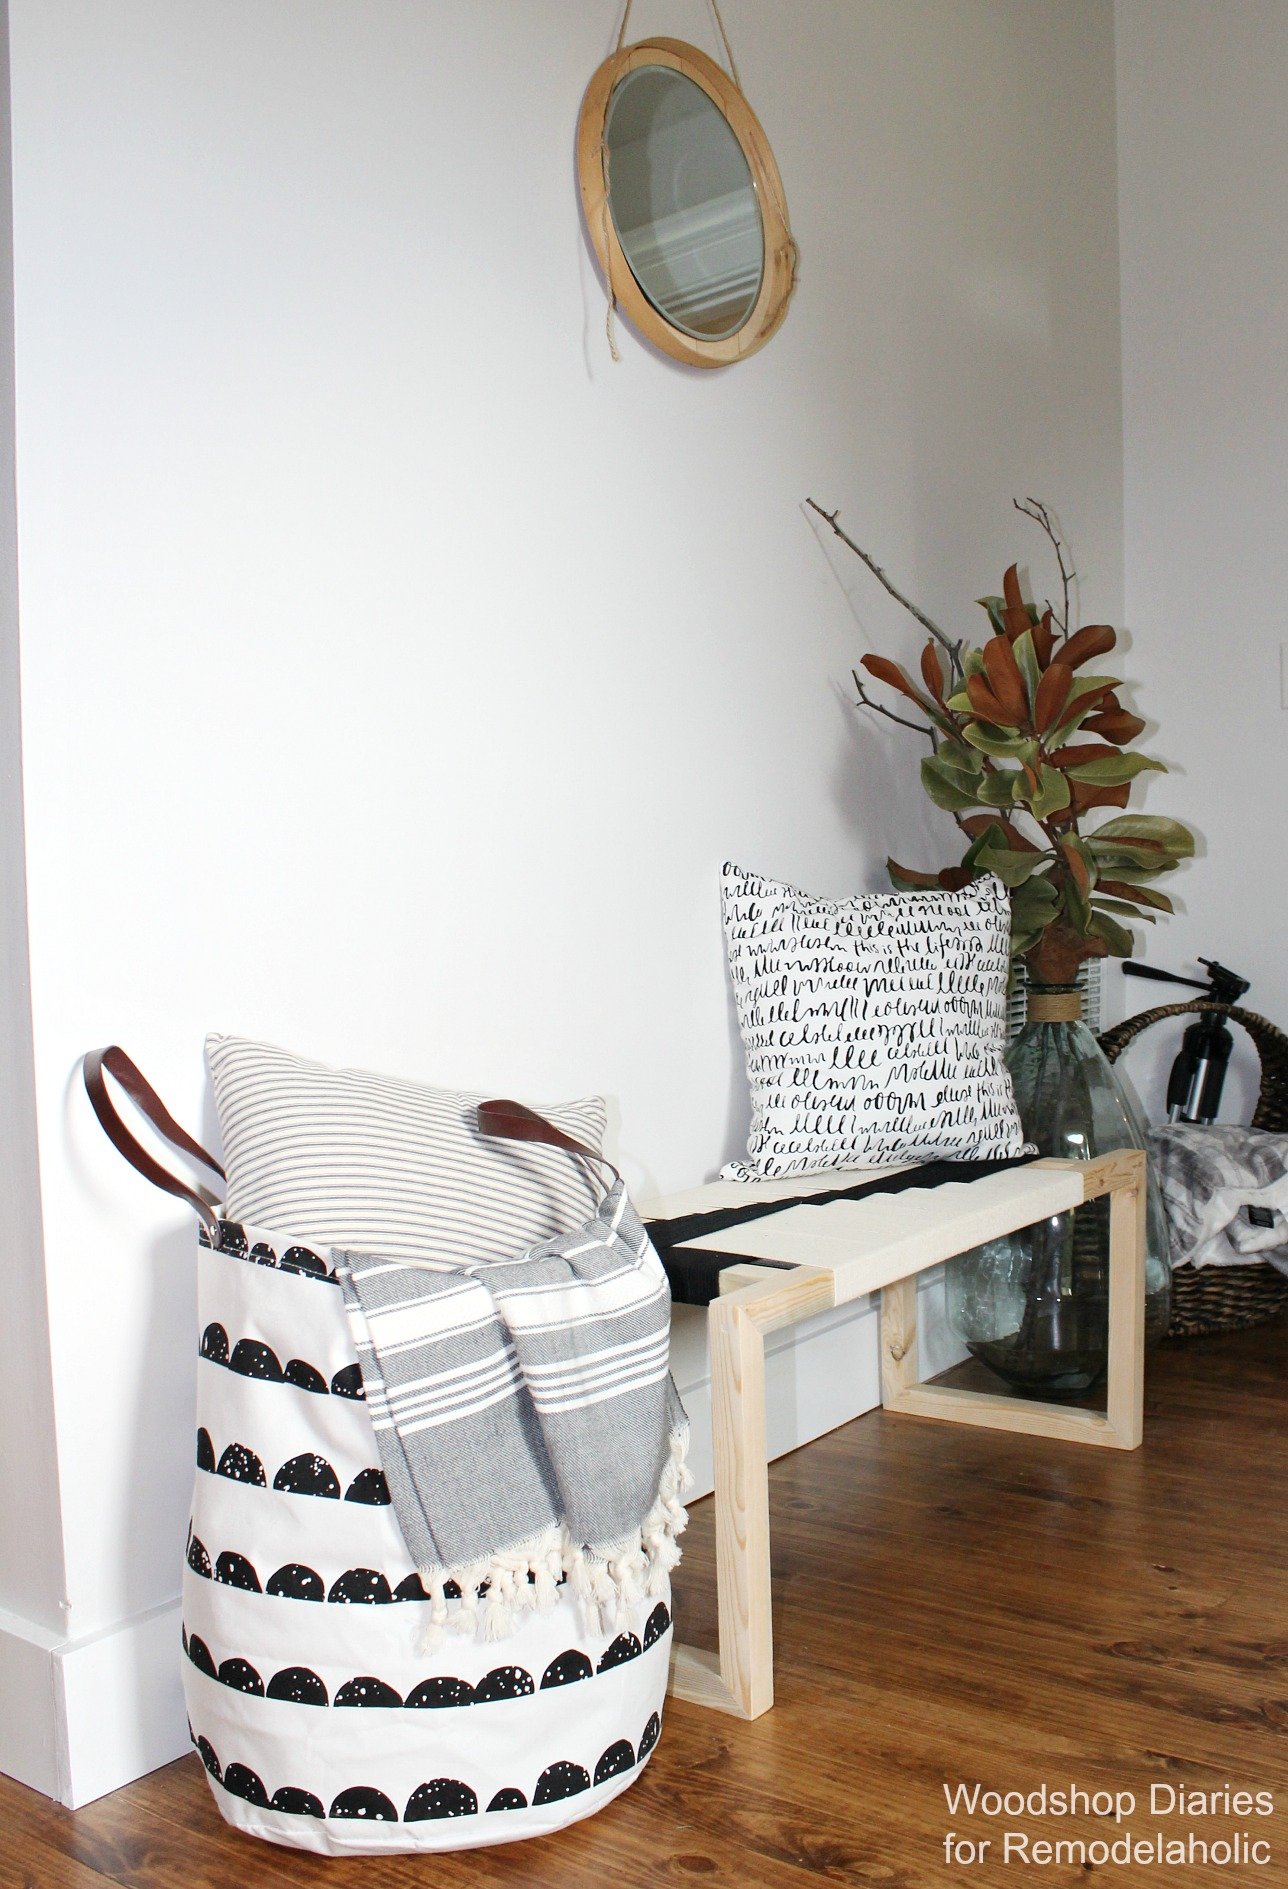
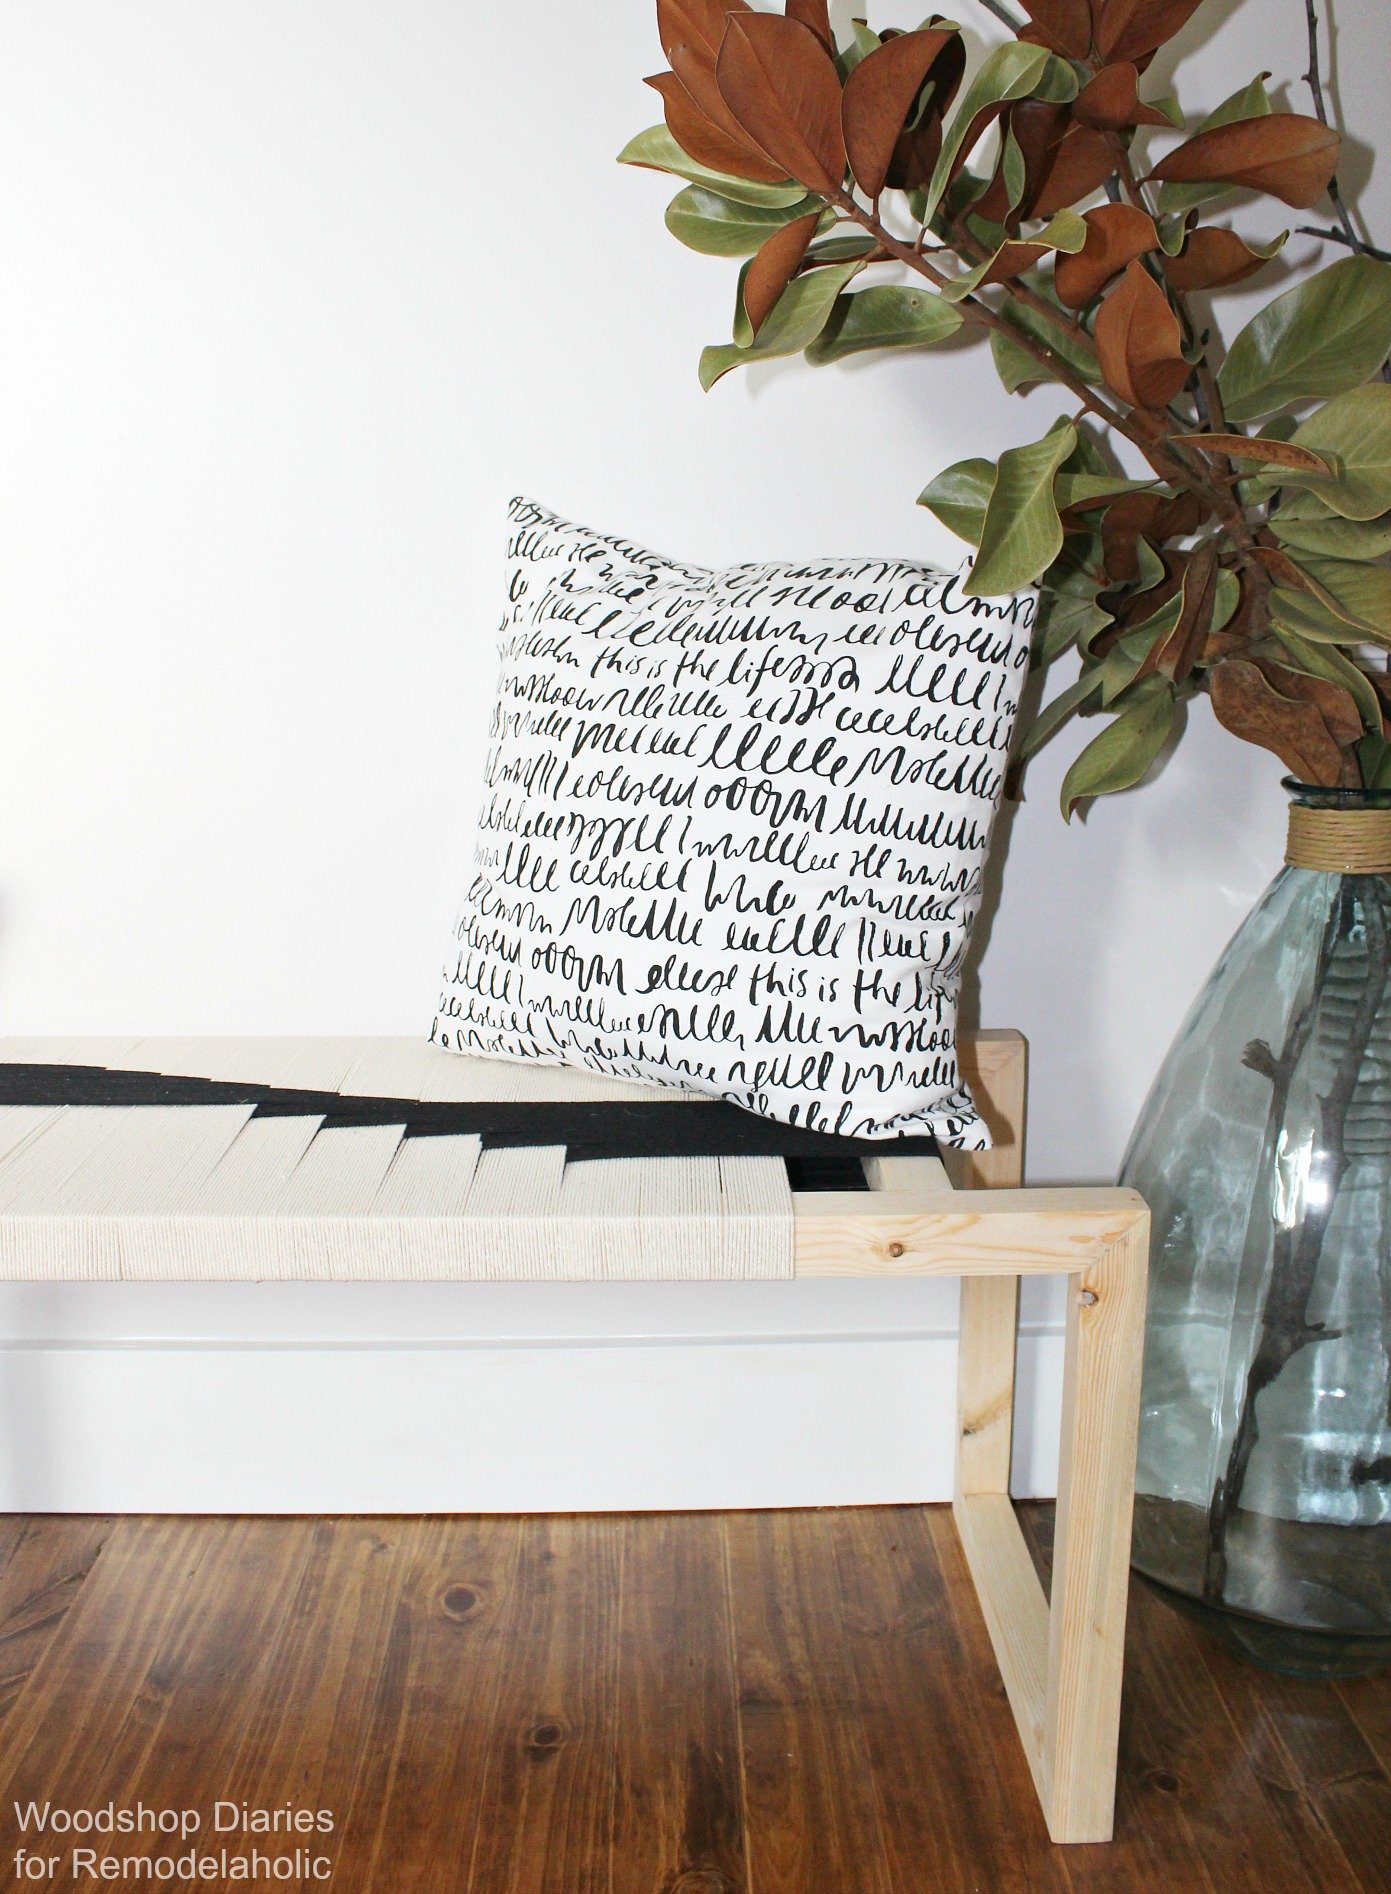
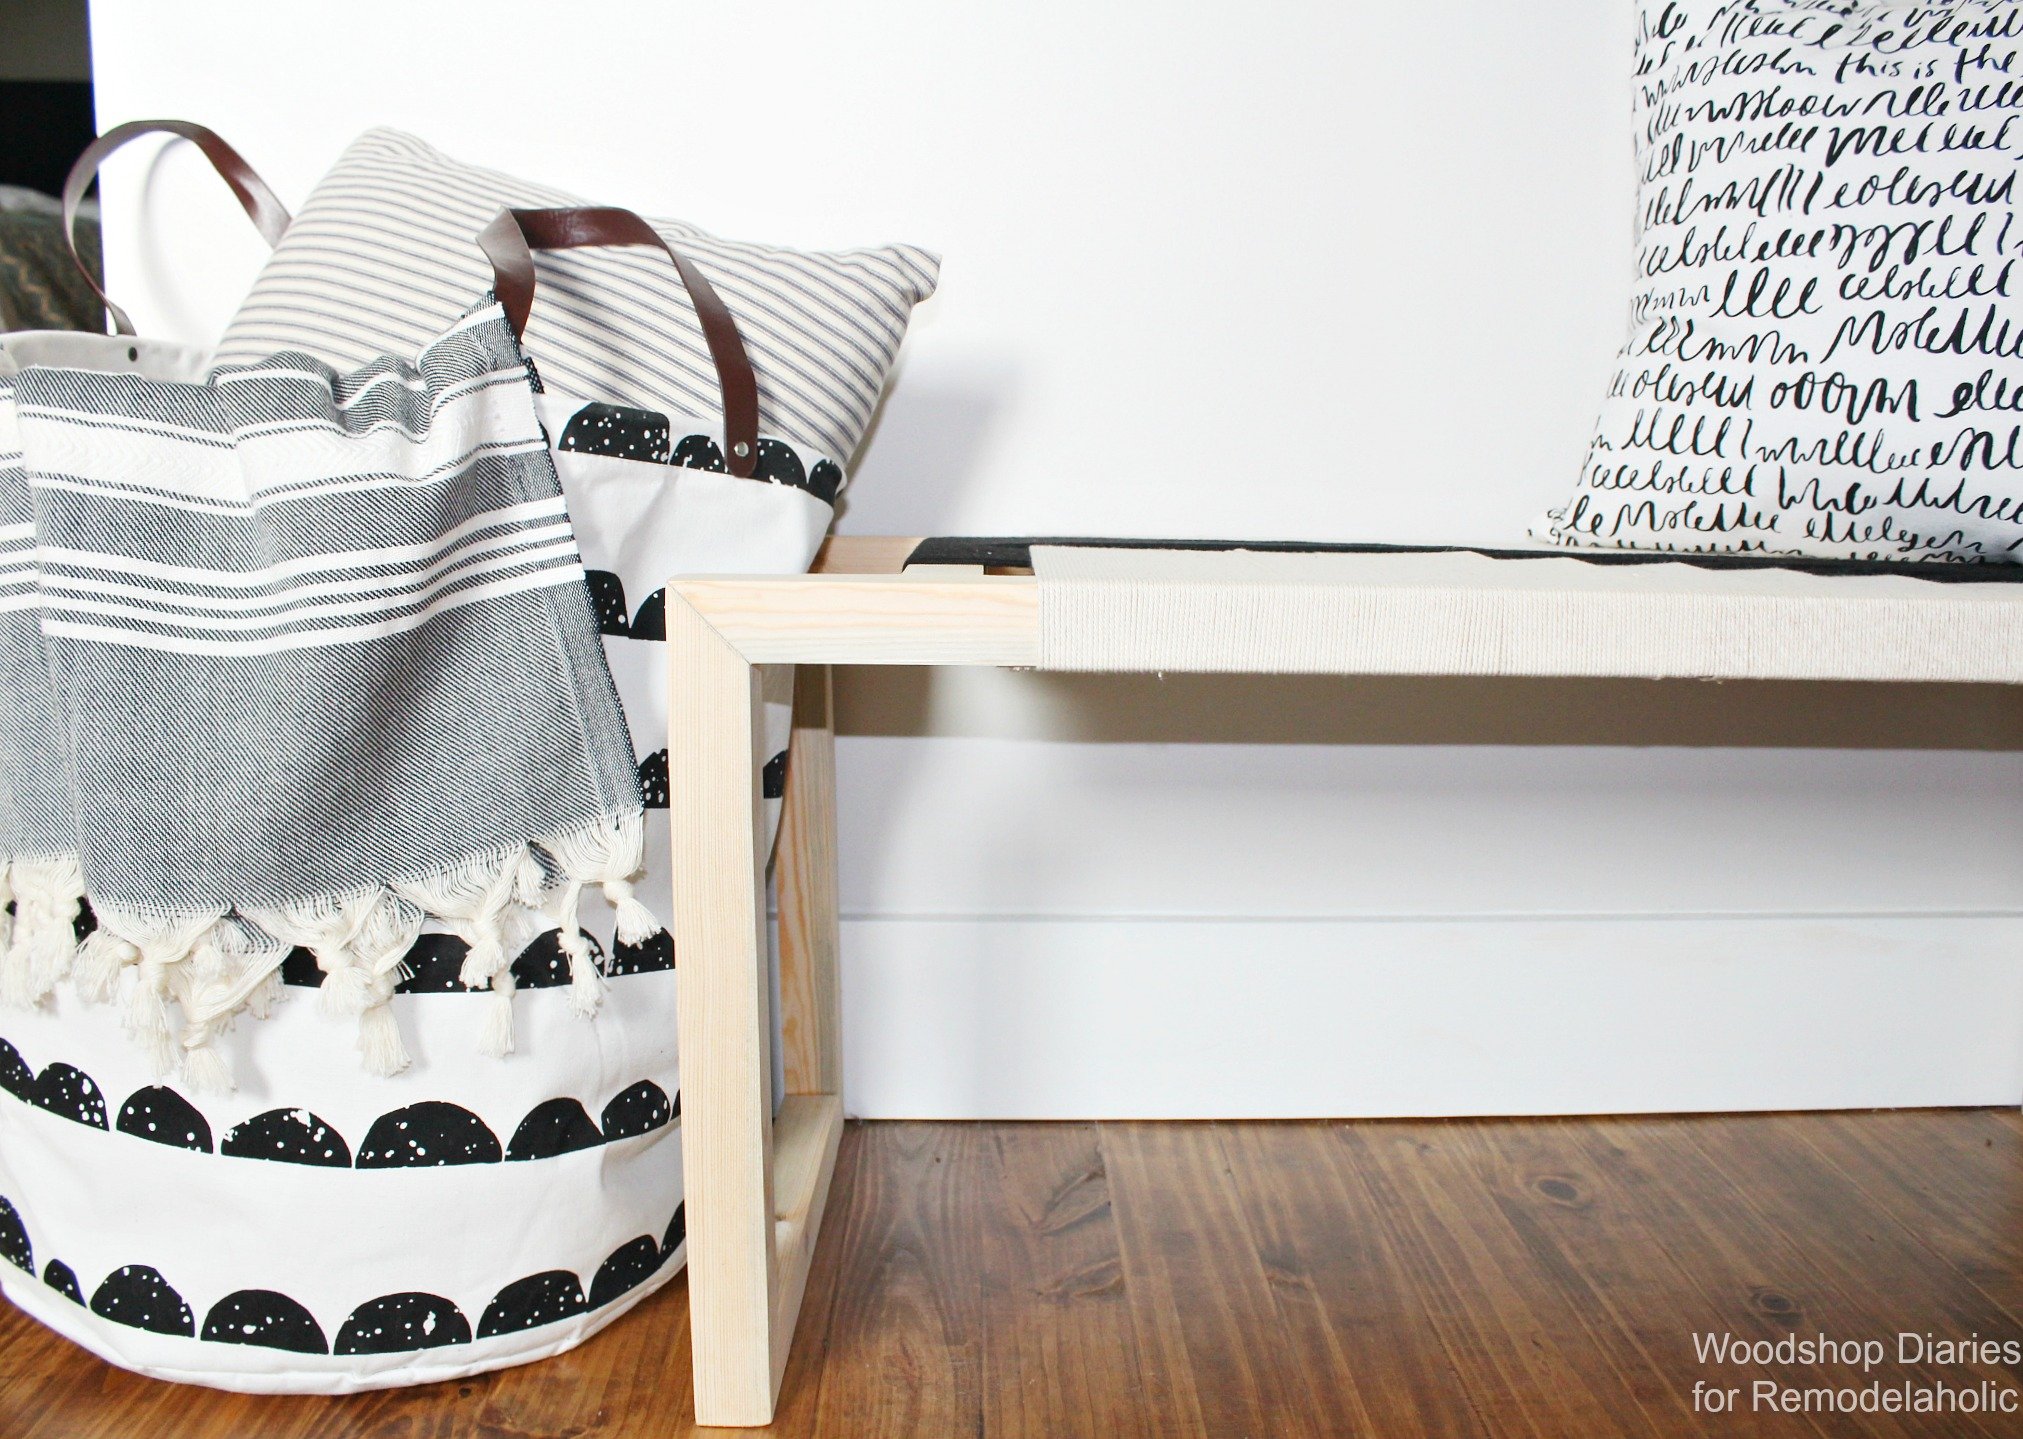
So today I want to show you how to make this black and white woven modern bench! It’s a simple build and you can easily customize your own weave pattern! But, I kept mine pretty simple.

So are you ready to get started?
How to Build a Modern Woven Bench
Watch the video tutorial over on our YouTube channel, and subscribe for new videos each week!
This post contains affiliate links. Learn more here.
Tools and Materials:
- (2) 2x2x8 boards
- Wood Glue
- Wood Putty
- Sander
- Clamps
- 2 ½” wood screws
- (2) rolls white macramé string
- (2) rolls black macramé string
- Staple gun
- Bandaids optional
 (be careful when weaving that you do not get blisters!)
Cut List:
- (2) 2×2 boards at 36” long (mitered 45 degrees on each end NOT parallel)
- (4) 2×2 boards at 16” long (both end mitered 45 degrees, one 90 degrees off from the other—see steps below)
- (2) 2×2 boards at 15” long (mitered 45 degrees on each end NOT parallel)
- (2) 2×2 boards at 12” (not mitered)
Step 1: Cut out bench frame pieces
First, you will cut the pieces from the cut list above. It may sound difficult, but it isn’t, I promise.

Cut your two 36” 2x2s with 45 degree mitered ends like shown below.

Step 2: Assemble bench frame
Using glue, clamps, and 2 ½” wood screws, assemble the frame like shown. If everything doesn’t line up JUST PERFECT, don’t worry, you can wood fill and sand down later. Use a wood screw on both ends like shown.

I found it easiest to glue the legs to the bench top piece first, then, once the glue was dry, attach the stretchers between the legs at the bottom. To attach the bottom stretchers, just glue the joints, clamp and use 2 1/2″ wood screws like shown below.

Using EITHER pocket holes and screws, or just glue and 2 ½” wood screws, attach the 12” 2x2s 6” from each end of the bench between the two top pieces like shown.


Now your frame is finished. Allow the glue to dry several hours before moving on.
Step 3: Finish the frame
I chose to leave my frame natural, but if you want to stain or paint the frame, do it now before you start weaving the top. Before finishing, you may want to putty and sand the joints and over the screws making sure everything is smooth and all the glue is off. If you leave any glue residue, the stain will not absorb on that spot.
Paint or stain as desired.
Step 4: Weave the seat
Weaving the seat is not difficult, but it is time consuming. And your fingers may get a little raw from rubbing along the string so much, so you may need some gloves or bandaids haha.
To weave the seat, start with one color (you can choose what colors based on the design you want) and staple the string to the underside of the bench top. Then start wrapping around the top. Make sure it stays tight and straight. If any of the string gets overlapped, straighten it out. This just makes it look cleaner.

When one roll of string runs out, just staple the end to the underside and start the new roll where the old one left off. I used two rolls of both colors to finish my design.

When you have the weave finished in one direction, then you are ready to start weaving the opposite way. You can definitely do a different pattern, but mine was VERY simple. Because the whole roll will not fit through the weave, you will have to unravel a handful at a time, cut, then weave. Just like before, staple the end of the black string to the underside of the bench top (this time on the short pieces) and start wrapping.
I did “sections” of 5 strings all at the same distance from the end. Then the next five, I increased the distance and so on. For my design, I weaved one roll with the black string going “up” then used the next roll of black string to do the same pattern, this time going “down”. Just wrap the black string around the stretcher, and over the white string. Then, at the point you wish, push it under the white string and pull through to go around the other stretcher then repeat. I ran out of string and had to “slide” my black string on the stretchers towards the center to make it look right. When in doubt, order more string than you think you will need 

And that’s it! The bench is finished!


I love the clean lines and modern style of this bench. It would be great for an entryway!


So what do you think?? Are you a fan of the modern style comeback?? Is this something you think you’d try?
If you’re looking for more modern style projects, check out these fun ones:


Modern Pegboard Cabinet Modern Dresser Armoire Modern Doghouse with Deck
Until next time, happy building and weaving!
More DIY benches to build:
coffee table into upholstered bench
mid-century triangle leg bench
modern stacked plywood lap bench
The post How to Make a Modern DIY Woven Bench appeared first on Remodelaholic.
https://www.remodelaholic.com/modern-diy-woven-bench/


No comments:
Post a Comment